How to install the sink faucet?
Mar 10, 2023
1. Preparation
Reserve a space, the style of the sink selected by each family is different, so the position of the sink reserved on the countertop should match the volume of the sink. When ordering the countertop, you should inform the countertop supplier of the approximate size of the sink to avoid rework The problem.
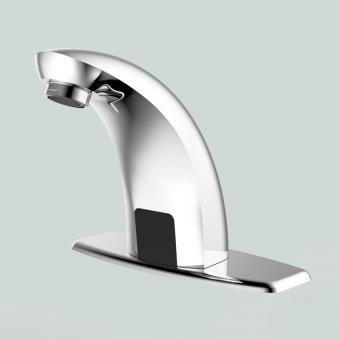
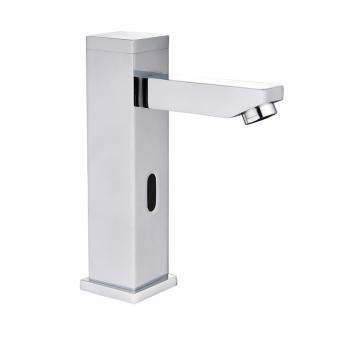
2. Faucet installation
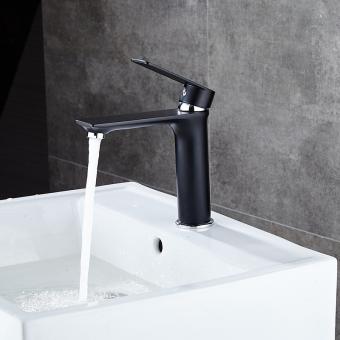
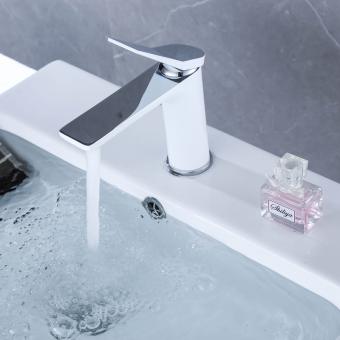
Before installing the sink, the faucet and water inlet pipe should be installed. When installing a faucet, it is not only required that the installation be firm, but also that there should be no water seepage at the connection.
3. Place the sink
After installing some functional accessories of the sink, the sink can be placed in the corresponding position on the countertop, ready to start the next installation procedure.
4. Start the installation
Install the water inlet pipe of the faucet. Connect one end of the water inlet pipe pre-installed on the faucet to the water inlet switch. When installing, pay attention to the firmness of the connection. At the same time, pay attention to a detail, that is, the position of the hot and cold water pipes. Do not confuse the left and right.
5. Install the downpipe of the overflow hole
The overflow hole is a protective hole to prevent the sink from overflowing. Therefore, when installing the drain pipe of the overflow hole, pay attention to the sealing of the joint with the tank body, and ensure that the drain pipe itself of the overflow hole does not leak.
6. Install the downpipe of the filter basket
When installing the downpipe under the filter basket, pay attention to the connection between the downpipe and the tank, which must not only be firm but also sealed.
7. Install the overall drainage pipe
Usually people will buy a sink with two filter baskets, but the distance between the two downpipes is different. When installing, workers will cut the matching drainpipes according to the actual situation. At this time, pay attention to the distance between each interface. between the seals.
8. Install hanging pieces to reinforce the tank body
After the sink is placed on the countertop, it is necessary to install a matching hanging piece between the tank body and the countertop to securely install the sink to avoid small gaps that cause the tank body to shake from side to side.
9. Finishing the installation
Carry out the drainage test. After the basic installation is completed, install the filter basket and start the next step of the experiment. When doing the drainage test, you need to fill the sink with water, and test the drainage of the water in the two filter baskets and the water in the overflow hole at the same time. When draining, if there is any water seepage, it should be reworked immediately to ensure that it will be used without hindrance.
Seal the edges around the tank body. After the drainage test is done, and if there is no problem, you can seal the edges of the tank. When sealing the edge with silica gel, it is necessary to ensure that the connection gap between the sink and the countertop is even, and there should be no water seepage.
Choose D & S Faucets, we will provide you with the best service.